Saturday, June 16, 2012

[Elise] Jam filled popovers

Ok. I have clearly not been holding up my end of the blog here, but really, how do I compete with a wedding cake?? I must say I am supremely jealous that I no longer live in D.C. to munch on test cakes. I will have to drool from here, and make my own delicious things.

First up, a long overdue post on my experiment with jam filled popovers.


I started with the basic popover recipe out of the joy of cooking. But I decided I wanted to see what would happen if I put jam in them before they went in the oven (because it's so hard to put jam on them after they come out of the oven and you just want them all to be in your mouth). So each popover got a little dollop of jam right before the whole thing slid into the oven.

The end result!


 The results were delicious, but stuck to the pan. Apparently the jam both sinks and also rises as its liquids boil away in the oven. The part of the popovers that stuck to the well greased pans were the jelly lined bottoms. Another interesting result was that almost all of them had holes clear through the entire popover (as modeled by Matthew). Delicious as they were,  I think next time I will stick to normal popovers and adorn them to my hearts content (and burning fingers displeasure) after they come out of the oven.


Thursday, May 31, 2012

[Inez] Wedding cake: practice round (part 2)

Alrighty friends, so we've gotten through Day 1 and Day 2 of making a practice wedding cake. The cakes are baked and frosted in individual tiers, and they have just sat in the fridge overnight. Not too long before the wedding (or event in which you invite all your friends to eat the enormous amount of cake you just made), you want to assemble the cake and make it pretty. I say not too long before the eating event because I don't have a box or other container large enough to hold an entire wedding cake, so it's just going to be sitting in the fridge, and you don't want your frosting to dry out or anything.

The first step in assembling your tiered cake is to remove each tier from the fridge and inspect the frosting for any damage that may have been incurred by your totally homemade cake covering mechanism. I had some extra vanilla frosting, so I just went around and added a very thin layer of frosting  which I had softened up quite a bit so it was like the consistency of mayonnaise. Because the cake had just come out of the fridge, the existing frosting was very firm, so I was able to easily smooth out any imperfections without messing with the existing frosting job.


Then you need to add some dowels. You can get plastic ones that are sort of like strong straws, but they cost a lot more. These were pretty cheap. Insert a dowel into your cake and mark it where the frosting comes up to. Then cut it just a bit above that mark. Mark and cut all dowels for the layer so they're exactly the same height.

Colin was the master of dowel-cutting. He opted to use a vice grip for accuracy.


I stuck five dowels in the bottom (12 inch) tier, and three in the middle (9 inch) tier.


You can see there is a slight gap between each layer. That gap kept me from having a heart attack when I placed each tier on top of the one beneath it.

Then, make it pretty! I played around with a few different piping tips and methods.


The bottom one is pretty, but I didn't do it very evenly. I was figuring it out as I went. I'll be practicing that between now and wedding day.


Sometimes I felt like the gap made it difficult to pipe evenly and well, especially with the middle tier. It just didn't have enough to stick to. If I use the shell design (see the lower border in the picture below), I may put a small plain rope of piped icing that I can then build off of with a pretty border.


Now, for the actual wedding cake I'll be decorating with flowers. Of course, I don't have the flowers yet. The cake looked nice, but very plain. So at Colin's suggestion, I made some pretty little decorations with one of the piping tips I have. I really like this one, because you don't have to do anything except pipe on a little blob, and it comes out looking like a flower!


Then I added some little silver sugar balls.


And in the end it looked like a real wedding cake.


A couple of notes: In the picture below, you can see that the cake turned sort of blue on the bottom slice:


The bottom layer of filling has red food coloring and did not dye the cake. The middle and top layer of filling had jam next to the cake, with filling in between the layers of jam -- and it dyed the cake. So I'll not be using jam, and will be using food coloring.

Another note: I used a vanilla bean in the plain frosting, and you can see vanilla bean specks in the frosting covering the cake. I won't be doing that for the real deal, just for a more uniform look.


Wednesday, May 30, 2012

[Inez] Wedding cake: practice round (part 1)

I know I just posted about a cake I made a week ago... but I made an even more exciting cake last weekend. Hope you're cool with that.

This does not include the ingredients I already had in the house.

So first, to review. I'm making a wedding cake for my dear friend Steph, who was my freshman roommate, my sophomore roommate, my junior roommate, and would have probably been my senior roommate if I hadn't done Quaker house. As it was, I spent about as much time at Steph's apartment as my own, senior year. See there's this funny thing where if you're a senior trying to write your thesis and you live with a bunch of sophomores, they JUST DON'T UNDERSTAND THE VALUE OF QUIET. I mean, glad you had fun, people. And glad I had another living room I could go write in.

Um, anyway. Steph. Wedding cake. Oh yes, review: 12 inch tier = hazelnut cake with chocolate filling, 9 inch  tier = vanilla cake with raspberry filling, 6 inch tier (plus additional sheet cake to feed the masses) = chocolate with orange filling. I'm flying out to California in 15 days to make this happen.

Day One: bake six layers of cake. Each tier will have two layers, and each layer will be torted for greater height and a more exciting cake-to-frosting ratio. I didn't take pictures of the baking process because how many pictures of flour can I really expect you to appreciate? Here's my fridge after all the cakes were baked:


Eat food, watch Dr. Who, sleep.

Day Two: Make four kinds of cream cheese frosting (fillings detailed above, plus vanilla cream cheese frosting to cover the outside of the cake).

Here's my Cream Cheese Frosting Recipe.
  • 2 pkg cc
  • 1 stick butter
  • 1 t vanilla and/or 1 vanilla bean
  • ~1 c confectioners suger (to taste... I usually do a bit less than a cup)
  • ~1-1.5 c whipping cream 
Cream the butter first before anything because otherwise sometimes you may end up with little butter bits that don't mix in all the way if the butter isn't quite soft. Then add the cc, vanilla, confectioners sugar, and beat until fully combined. Whip the cream and fold in.

Before adding whipped cream.


Raspberry: Measure out about 1 cup of raspberries, strain slightly to remove some of the liquid. Add to butter/cc mix before folding in the whipped cream.

Chocolate: Melt 4 oz semi-sweet baker's chocolate, let cool somewhat. Add to butter/cc mix before folding in the whipped cream. Reduce confectioners sugar to about 1/2 cup.

Orange: Add the zest of one orange, 1 T orange juice, and a scant 1/4 t orange extract to butter/cc mix before folding in the whipped cream. Add more of anything to taste -- but go easy on the orange extract; it can easily overpower the frosting.

Fold in the whipped cream with a gentle touch. These are clouds, baby, you don't want to crush them.

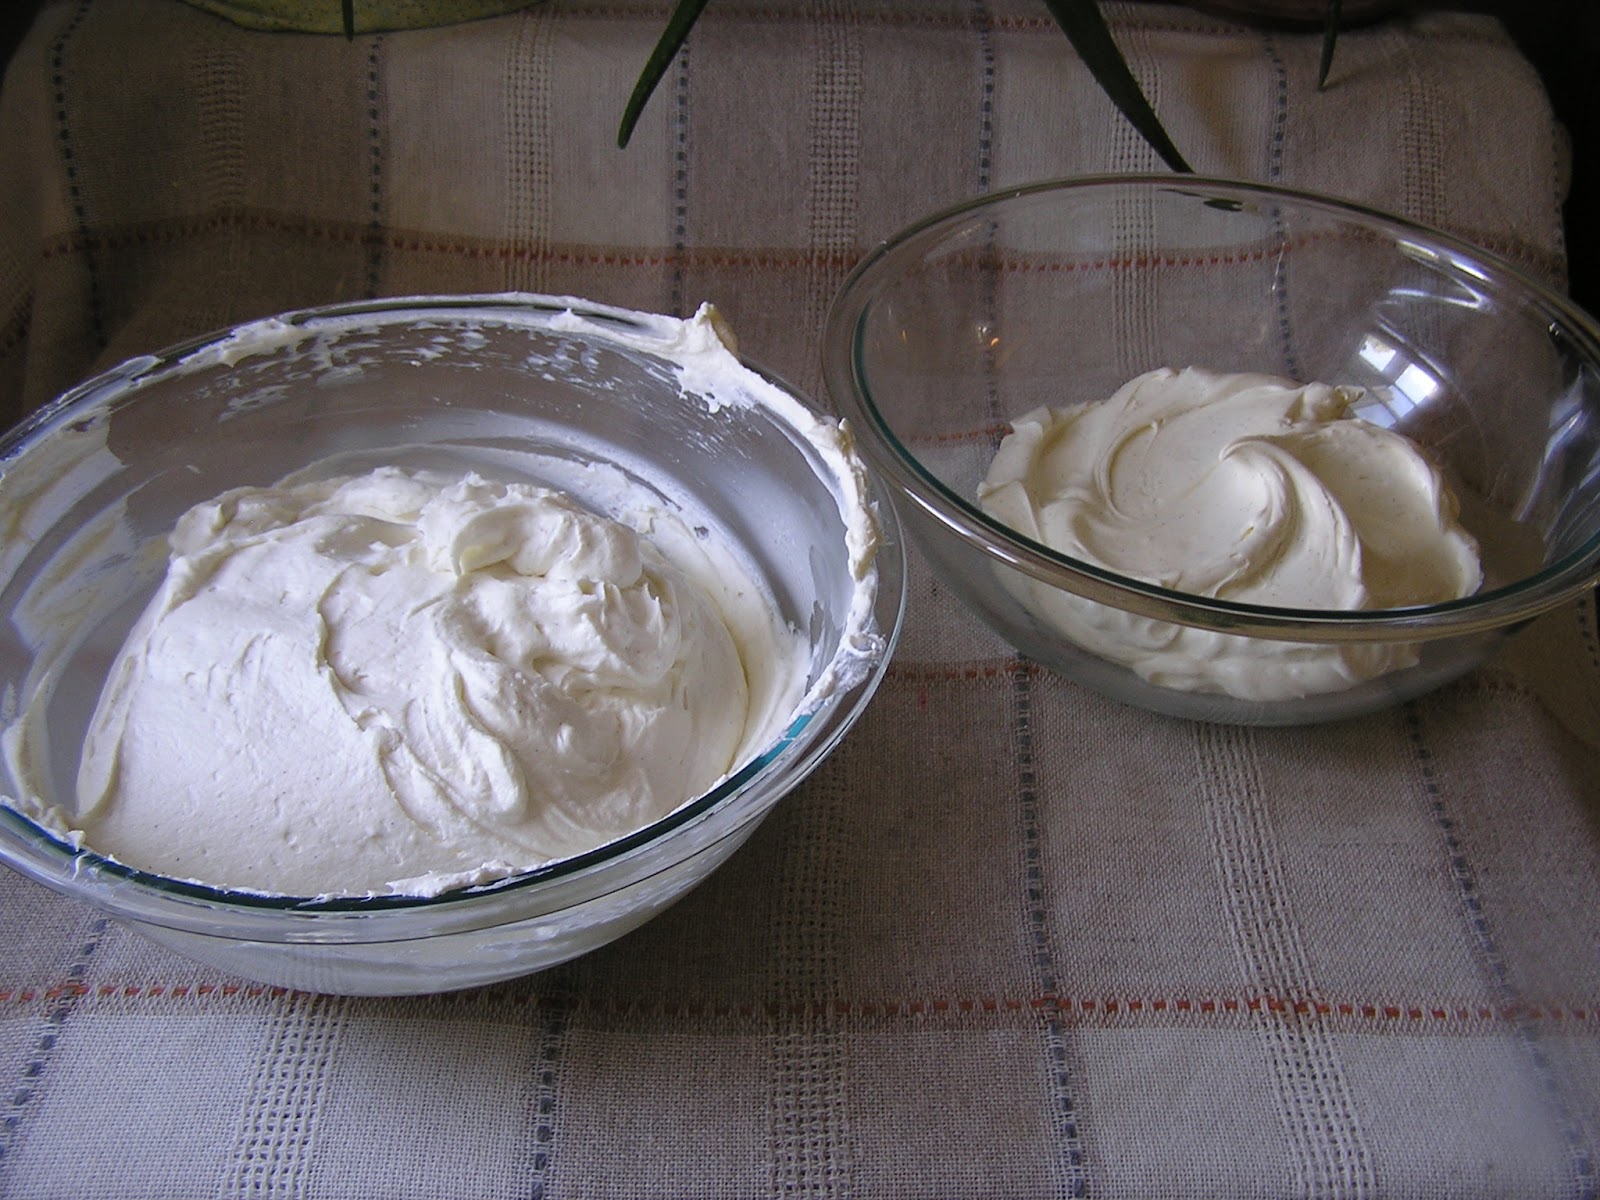
The frosting will about double in size when you add the whipped cream. Awesome.

When you've got all the frostings made up, fill and frost each individual layer as if it were its own cake. Do it right. Make it pretty. Don't worry too much about the bottom edge.


Now here's the deal. If you've refrigerated the frosting, you have to let it sit out for a while before frosting. If it's still cold, there will be lots of air bubbles that get in the way of smoothing it out. You can fold the frosting again to encourage it to soften up. It may lose some of its fluffiness, but it's worth it if you don't have the time/patience to let it sit out.

Put these bad boys in the fridge. Cover them up. Don't worry too much if you bang them a tiny bit getting them in or out, you can fix them tomorrow. Go to the pizza place down the street with your friends, have some dinner. Have a beer. Go to sleep.

Coming soon: see Part 2 for assembly and decoration)

[Inez] Vanilla cake with raspberry filling

I finally found a vanilla cake recipe to use for the wedding cake. I made this one two weekends ago to test the recipe, and took it in to work with me because I don't want my housemates to get sick of cake. That would be sad.

For the practice cake I used a recipe from Joy the Baker for Vanilla Butter Cake. Her recipe is for 12 cupcakes; I multiplied the recipe by three and divided it between two 9 inch round pans.


I picked this one to try because it follows a similar process as the coconut cake I love so much. You add butter to flour, sugar, and other dry ingredients and then beat it until it becomes sandy. This recipe then has you add half of the milk and beat it just until incorporated.


Mix the rest of the wet ingredients, and finish adding to the dry mixture.


I'm pretty sure I've talked about torting before. Torting is where you take a layer of cake and cut it in half so that it forms two thin layers of cake. I did that. Then I got fancy. If you have a colorful filling and a white frosting, you don't really want the filling to show between the layers when you get it all frosted up. So I piped a ring of plain vanilla cream cheese frosting around the outside of each layer...


...before adding the raspberry cream cheese filling.


See? You can't tell there's raspberry anywhere in there.


Ta da!


Side note: I used royal icing for the piped decorations here. #1 It's a totally different color white. #2 It's extremely sensitive to humidity (hello, I live in Washington, DC, built on a swamp - it's humid here) and grease (such as, for example, the grease of a butter-cream cheese-whipped cream frosting). So it had melted by the next morning. Scrap that idea.

Wednesday, May 16, 2012

[Inez] Wedding Cupcakes

The trial portion of the wedding cake preparation continues. I am still tweaking my hazelnut cake recipe, and still looking for the perfect vanilla cake recipe. I will probably have to make two more cakes this weekend. In the mean time, I made some hazelnut cupcakes over the weekend to test for flavor. I busted out the piping tips to get a bit more familiar with the mechanics of piping before I have to make pretty borders between the tiers of the wedding cake.

I don't really have a whole lot of commentary for this post. I watched some videos on piping and I'll be watching them again. In the mean time, learning the feel of it and what works and what doesn't is helpful.


I used a marbled frosting (chocolate and vanilla cream cheese) because that's what will be on the cake (chocolate between layers, vanilla cream cheese frosting on the outside of the cake).


Thursday, April 19, 2012

[Inez] Hazelnut cake: Take 1

Remember that thing where I'm making a wedding cake in TWO MONTHS? Still in the recipe testing phase. I am trying to figure out how to modify a well-loved recipe to make it into a hazelnut cake that has a strong hazelnut flavor (without being overpowering) and it also light and fluffy with a good crumb that doesn't try to fall apart when I tort it for the wedding.

How much do I need? Not really sure...

This was Take One. I made a chocolate-hazelnut cake once before, which turned out well...

Toasted hazelnuts

I toasted and then ground hazelnuts and threw those in with the dry ingredients instead of the cocoa. Note: 1 1/2 cups of whole hazelnuts makes more than I need for a double layer 9-inch cake.


I used about a cup or a cup and a half (can't remember right now) in the cake, had an extra 1/3-1/2 ground and an extra 1/3 whole.

I didn't take any assembly pictures, but I have a couple of notes:

  1. Doing a crumb coat the real way, wherein you apply a crumb coat and then put the thing in the fridge for 15 minutes is excellent and I highly recommend it.
  2. Do NOT overwhip the whipping cream to fold into cream cheese frosting. It will make the frosting too stiff and difficult to work with. It turned out well, but took a lot of cursing to get there.

I got these pretty silver decorative things in Brazil last spring, and they seemed appropriate for this cake:


No recipe on this post. I'm going to play with it some more this weekend and I will post a recipe when I have figured it out!


Update: I made a few tweaks this past weekend, but I'm still not quite there. Getting closer, though!

Wednesday, April 11, 2012

[Inez] Tiered coconut cake

I may have mentioned that I'm going to be making my dear friend Steph's wedding cake this June. The plan is a three tier cake (12 inch, 9 inch, 6 inch) with layers in chocolate, hazelnut, and vanilla. The hazelnut is for Steph, the chocolate is because it's damn delicious, and the vanilla is for weirdos who don't like chocolate and/or are allergic to tree nuts. Okay, there's nothing weird about being allergic to tree nuts, I just don't know why you would pick vanilla over chocolate in that situation.

Anyway, my moms gave me a frosting decorating tip set for Christmas, which I will be needing to use for between the tiers on the wedding cake. Ruby came to visit (so long ago, now...) and we made a coconut cake in differently sized tiers and then we played around with the icing bag thingy.


This is not what the wedding cake will look like. There won't be any coconut shavings and there won't be any pink and that whole side won't be drooping.... but this was fun to put together and delicious to make. Coconut cake. Did you know it's one of the best things ever?


P.S. Sorry for the crappy nighttime pictures. If I don't take pictures at night I will never take pictures again, it seems.